 XMEye Docs
Login & Add Device
How to log in to XMEye (Cloud, Local, and Direct login), register an account, and add a device on Android and iOS.
After installing XMEye, tap the XMEye icon to launch the app. The app opens on the login screen, where you can choose how to sign in and start adding your devices.
Login interface
On the login screen you can enter your user name and password, then choose Cloud Login. Below the login button, an Other Ways login section offers Local Login, and on iOS also Direct Login.
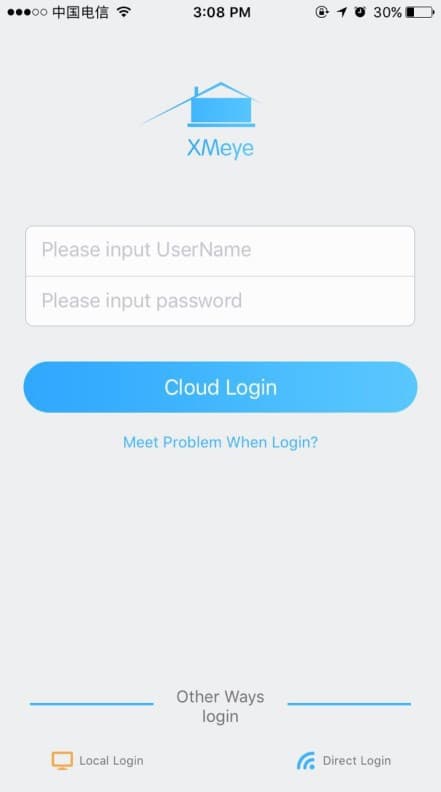
Login methods
| Method | Account needed | What it does |
|---|---|---|
| Cloud Login | Yes | Signs in with the account you registered on the XMEye cloud server. Devices you have saved on the server are loaded automatically, and you can also add new devices. |
| Local Login | No | Signs in without an account. Devices are stored in the phone's memory only. |
| Direct Login (iOS) | No | Connects your phone directly to a device's own Wi-Fi to view it. |
Cloud Login uses the user name and password you registered on the XMEye cloud server (http://xmeye.net/). You can also tap User Register in the app to create a new account. Once devices are added and saved on the server, they appear in your device list after every cloud login on any phone.
Local Login and Direct Login do not require an account, but they do not support the cloud video function. Use Cloud Login if you want cloud-based remote access.
Register a new account
You can create an XMEye cloud account directly from the login screen.
Open the account options
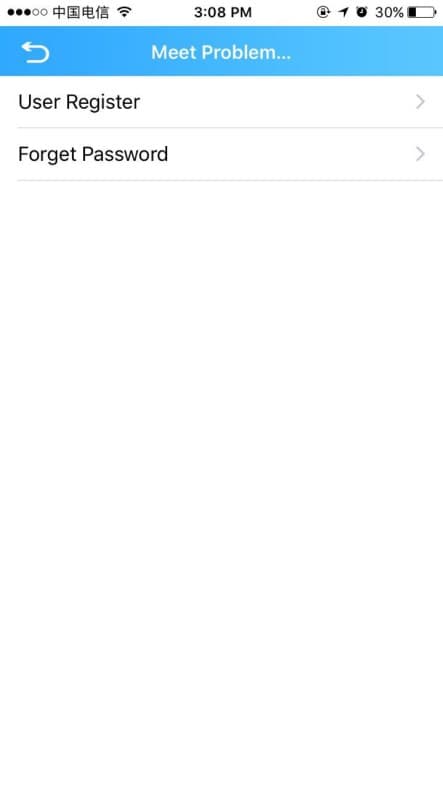
On the login screen, tap Meet Problem When Login? (iOS) / Login problems? (Android). On the resulting screen, tap User Register.
Fill in your details
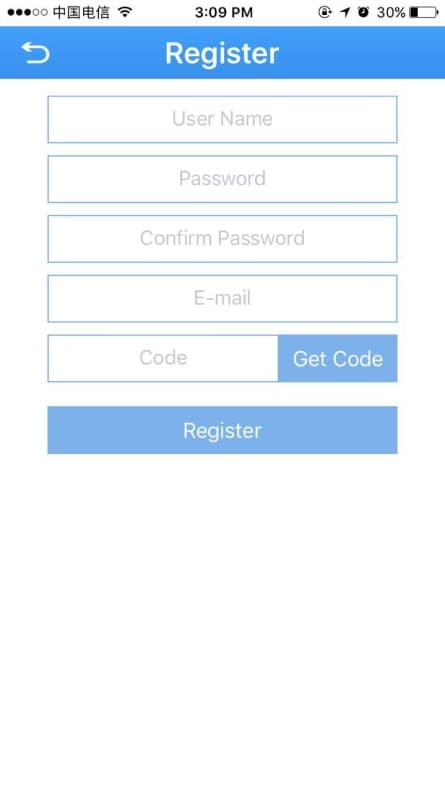
On the Register screen, enter a User Name, Password and Confirm Password, then enter your E-mail.
Verify and finish
Tap Get Code, enter the verification Code sent to your e-mail, then tap Register to complete sign-up.
Forget password
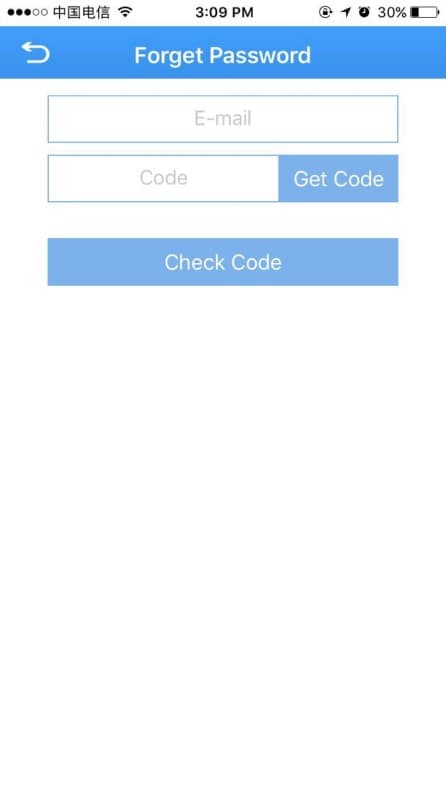
If you cannot sign in, tap Meet Problem When Login? -> Forget Password. Enter your E-mail, tap Get Code, enter the code received in the e-mail, then tap Check Code. If the code is correct, you can set a new password.
On Android, the login screen also offers a Modify Password option. Tap it, then enter your user name, old password, new password and confirm password, and tap OK.
Add a device
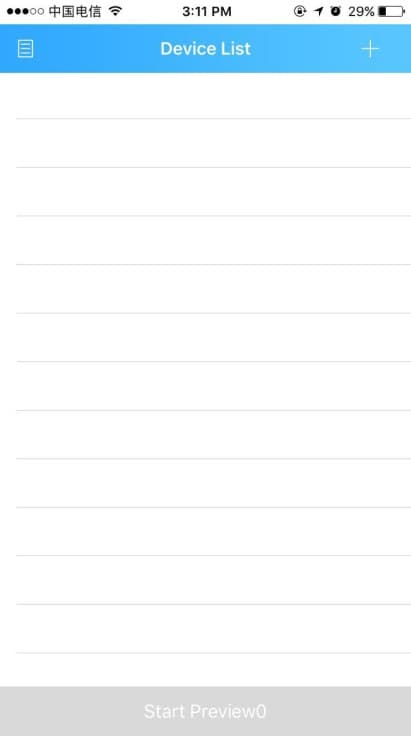
After cloud login you arrive at the Device List. From here you can add devices in three ways: Manually Add, LAN Search, and Quick Configuration (Wi-Fi). Tap the + button in the top-right corner of the Device List to open the Add Device screen.
Manually add
The Add Device screen opens on the Manually Add tab by default.
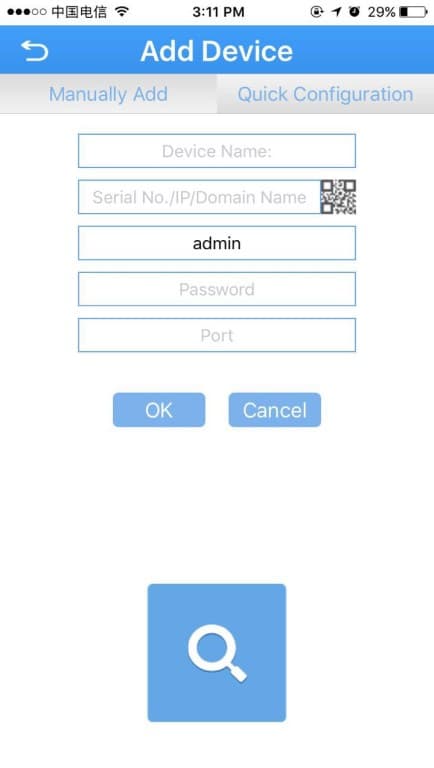
Fill in the following fields:
| Field | Description |
|---|---|
| Device Name | A custom name for the device. |
| Serial No. | The device serial number. Read it from the device label, find it on the PC client under Version → Device serial no., or tap the QR-code button at the right of the field to scan it. You can also enter the device IP address or a DDNS domain name instead. |
| Username | The device login name. Default is admin. |
| Password | The device password, which must match the username. Default is blank (null). |
| Port | The TCP port. It must match the media port in the device's network settings (or the router-mapped port). Default is 34567. |
After filling in these settings, tap OK. You return to the Device List, where the device you added now appears.
The factory defaults are Username: admin, Password: blank, and Port: 34567. Only change these if the device's network settings have been customized.
LAN search
To find devices that are on the same local network as your phone, tap the search icon  at the bottom of the Manually Add page. The app lists the devices it finds.
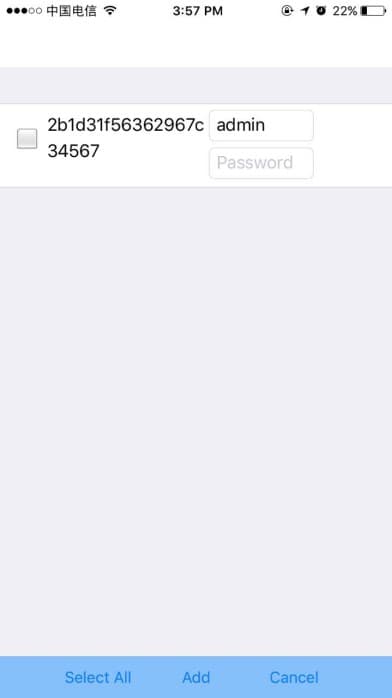
Tick the devices you want, enter their password if required, then tap Add (or Select All then Add) to add them to your device list.
Quick configuration (Wi-Fi)
Use Quick Configuration to put a Wi-Fi device onto your wireless network and add it.
Open Quick Configuration
On the Add Device screen, tap the Quick Configuration tab. Enter the Wi-Fi password for the network the device should join.
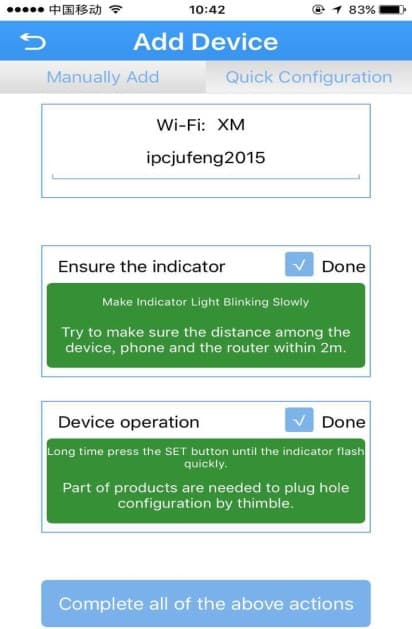
Follow the on-screen tips
Follow each tip and tick its Done box. Keep the device, phone and router within about 2 m of each other, and long-press the SET button on the device until its indicator flashes quickly (some products need a pin to reach the configuration hole). Each tip area turns green once completed.
Scan and add
Tap Complete all of the above actions to start scanning. When the green monitoring-device mark appears, tap it to add the device.
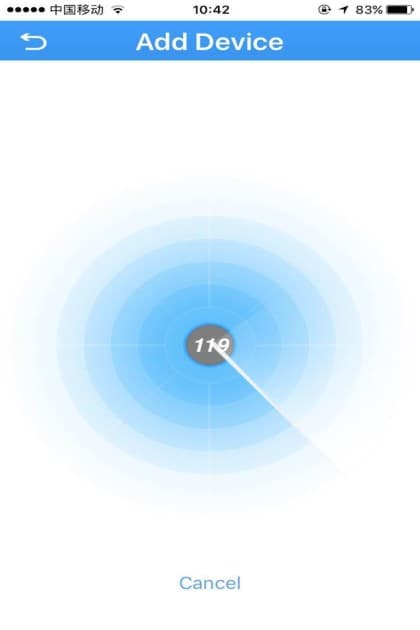
Manage devices in the list
In the Device List, tap the operation button next to a device to open the device-operation menu.
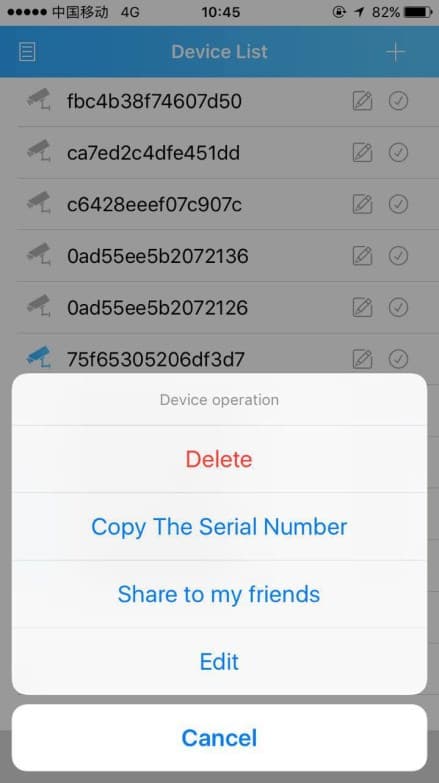
| Action | Description |
|---|---|
| Edit | Change the device name, serial number, login details or port. |
| Delete | Remove the device from the list. |
| Share to my friends | Share the device serial number with a friend by e-mail or Bluetooth. |
| Copy The Serial Number | Copy the device information to the clipboard. |
Once a device is added, select it in the device list and tap Start Preview to open the Live View and watch its video.